
July 22, 2026
Kitchen island design in Washington DC: size, layout, and specifications (2026)
A complete guide to kitchen island design for Washington DC homes, how to size an island correctly, what storage and sink configurations work, waterfall edge options, seating depth, and what DC kitchens are specifying in 2026.
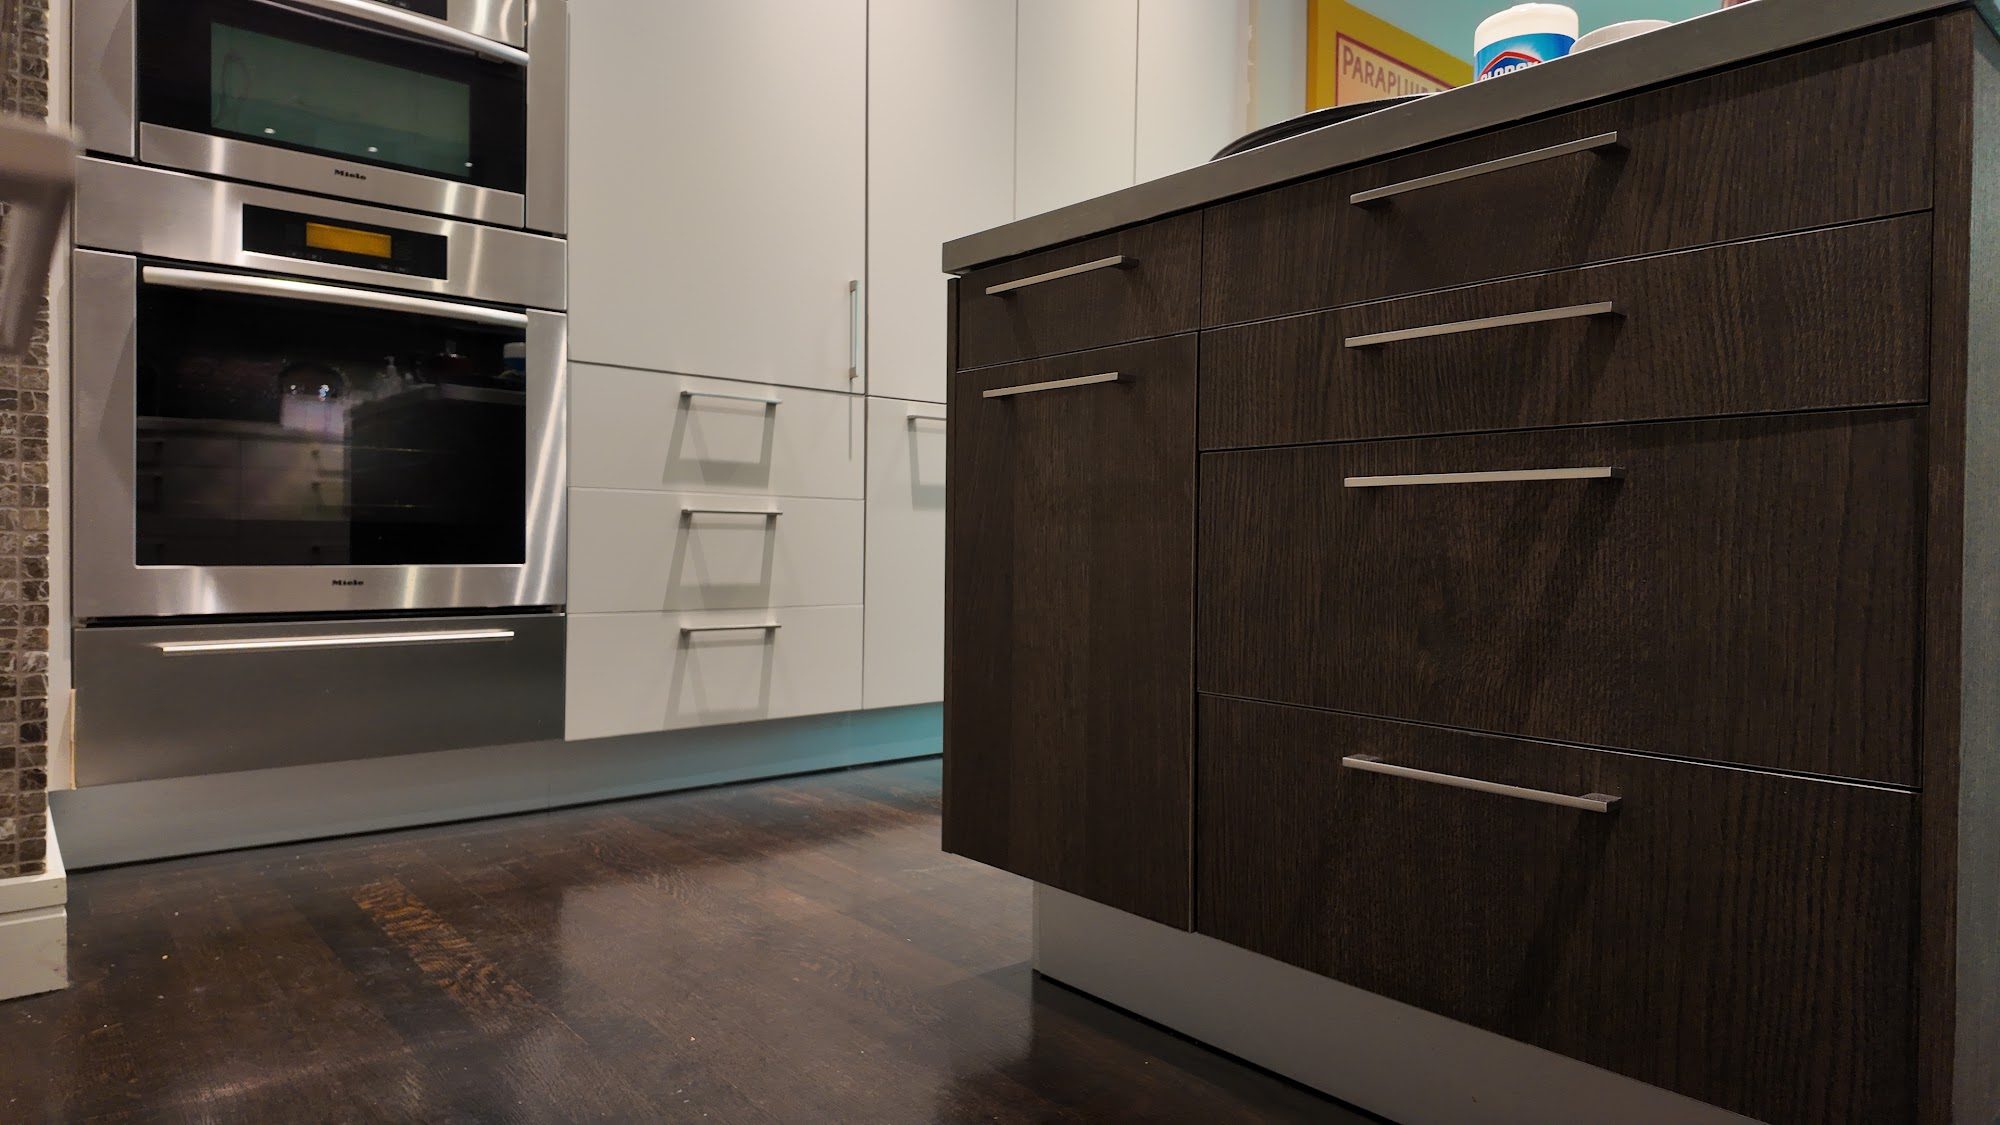
The kitchen island is the most discussed single element in any DC kitchen renovation consultation. More than the cabinet finish, more than the countertop material, the island question (whether to have one, how large, what configuration), shapes the entire kitchen program. It determines the traffic flow, the seating arrangement, the relationship between the cooking zone and the living area, and the visual anchor of the room.
It is also the element that is most frequently gotten wrong. Islands that are too small to be useful. Islands that are too large for the clearance around them, creating bottlenecks in a busy kitchen. Islands without storage: a solid box of cabinetry on all four sides with no drawers, no prep sink, no practical function beyond counter space. Islands with seating overhang on the cooking side rather than the dining side, so the person at the stool watches the cook’s back.
Getting the island right requires resolving several decisions simultaneously: size, clearance, seating configuration, sink placement, storage layout, and countertop specification. This guide covers all of them for the specific conditions of DC’s residential market.
Does your kitchen need an island?
The island is not appropriate for every kitchen, and adding one to a kitchen that cannot accommodate it correctly produces a worse outcome than no island at all. Three conditions must be met before an island is the right decision:
Minimum clearance: A functional island requires at least 42 inches of clear space between the island perimeter and any adjacent counter, wall, or appliance on the working sides. 48 inches is the preferred clearance for a kitchen with multiple cooks. Below 42 inches, the kitchen becomes a navigation problem: two people cannot pass each other, and opening a dishwasher or oven door requires backing up to make room. An island that fits on paper but creates 36-inch clearances in practice is worse than no island.
Minimum floor area: A practical island needs a minimum footprint of approximately 36 by 60 inches: enough for a prep surface and three counter stools. Below this size, the island provides neither adequate working surface nor comfortable seating. An island of 30 by 48 inches in a 180-square-foot kitchen is a furniture decision masquerading as a renovation decision.
Appropriate room scale: An island in a narrow galley kitchen, a common configuration in Georgetown and Dupont rowhouses, is almost always the wrong decision. The island reduces the working width of the galley from comfortable to cramped. In a narrow kitchen, a peninsula (an island attached to the perimeter on one end) or a rolling prep cart provides the additional surface without the clearance penalty.
If all three conditions are met, the island is the correct decision. If any one is not met, the kitchen program needs a different approach to the additional surface and storage goals the island would have served.
How to size the island correctly
Island sizing is determined by four measurements: the kitchen’s total floor area, the clearance on all four sides, the seating requirement, and the functional program (prep sink, microwave drawer, second dishwasher).
The clearance calculation first: Measure the total available floor width between parallel counters or walls. Subtract 42 inches for each working side (the side where someone stands to cook or to access the dishwasher). The remainder is the maximum island width. In a kitchen with 10 feet 6 inches between the perimeter counters and one working side, the maximum island depth is 10 feet 6 inches minus 42 inches equals 6 feet 6 inches: but in practice, an island 48 inches deep with 42-inch clearance on the working side and 36 inches of clearance on the seating side is the comfortable specification.
Island depth: 36 to 42 inches of island depth (front-to-back, excluding the seating overhang) provides a full working surface on the cooking side. Adding a seating overhang of 12 to 15 inches on the dining side brings the total island depth to 48 to 57 inches. An island deeper than 60 inches total, cooking surface plus seating overhang, is only appropriate in a kitchen large enough to provide 48 inches of working clearance on the cooking side while maintaining a comfortable seating position on the dining side.
Island length: The minimum practical island length for seating is 48 inches: enough for two stools at 24-inch spacing. 72 inches accommodates three stools comfortably; 96 inches accommodates four. The length is also constrained by the kitchen’s overall dimensions: in a 14-foot-wide kitchen, an island longer than 10 feet would leave only 24 inches of clearance at each end: inadequate for traffic flow.
Typical DC island sizes by kitchen type:
| Kitchen type | Typical kitchen size | Recommended island |
|---|---|---|
| Georgetown rowhouse (opened plan) | 200–260 sq ft | 36 × 72 in, 2–3 stools |
| Bethesda colonial | 240–320 sq ft | 42 × 84 in, 3–4 stools |
| McLean estate kitchen | 300–450 sq ft | 48 × 96–120 in, 4–5 stools |
| Dupont condo | 150–200 sq ft | 30 × 60 in or peninsula only |
| New construction | 300–500 sq ft | 48 × 96–144 in, 4–6 stools |
Island configuration: the four programs
Working island (no sink, no seating)
A working island without a sink and without seating overhang is the simplest configuration: a cabinet base with a countertop, accessible on all four sides, used purely for food preparation. This configuration is appropriate in kitchens where the social function of the island (seating, gathering) is provided by a separate table or peninsula, and the island is purely a work surface.
In Georgetown rowhouses that have been opened to a dining area, a pure working island without seating often makes more sense than an island with an overhang: the dining table provides seating, and the island is optimized as a prep and staging surface without the overhang that reduces its working depth.
Social island (seating overhang, no prep sink)
The most common island configuration in DC kitchen programs: an island with a seating overhang on one side (the side facing the living or dining area) and storage drawers and doors on the cooking side. No prep sink: the perimeter sink handles all water needs.
The seating overhang is the element that requires the most precise specification. A 12-inch overhang allows standard bar stools (stool height 28–30 inches for a 36-inch counter) but is tight for comfortable long-term seating. A 15-inch overhang is comfortable for most adults. An 18-inch overhang is generous and appropriate for islands used as homework stations and casual dining by households with children.
The correct stool height depends on the island counter height: for a standard 36-inch counter, stools at 28 to 30 inches seat height work correctly. For a raised bar section (42 inches), stools at 28 to 30 inches with backs work correctly.
Working island with prep sink
Adding a prep sink to the island gives the cooking side a dedicated water source for rinsing vegetables, filling pots, and hand washing during cooking: without interfering with the perimeter sink, which may be in use simultaneously. In a household with two cooks, the prep sink eliminates the most common kitchen traffic conflict.
The prep sink specification: 15 to 18 inches wide, single basin, undermount. A 15-inch prep sink fits in an island without consuming the entire counter width; an 18-inch sink is more practical for larger vegetables and pots. A pull-down spray faucet is the most functional configuration: the spray head allows the sink to serve more tasks than a standard spout.
The prep sink requires a plumbing rough-in under the island floor, which means the island position must be confirmed before the rough-in is completed. Moving a prep sink after the rough-in is a significant cost; confirming the island position during the design phase avoids this.
Full-function island
A full-function island (prep sink, microwave drawer, secondary dishwasher, seating, and ample storage) is the correct specification for a McLean or Bethesda estate kitchen where the island is the operational center of the cooking program. The secondary dishwasher at the island allows island-side cleanup without returning to the perimeter sink zone. The microwave drawer below the counter keeps the microwave at an accessible height and off the countertop surface.
At this level of island specification, the floor plan requirements are correspondingly greater: a 48 by 120-inch island with a prep sink, secondary dishwasher, and seating for five requires approximately 48 inches of working clearance on the cooking side and 36 inches on the seating side, placing it correctly in a kitchen of at least 350 square feet.
The waterfall edge: what it is and when to use it
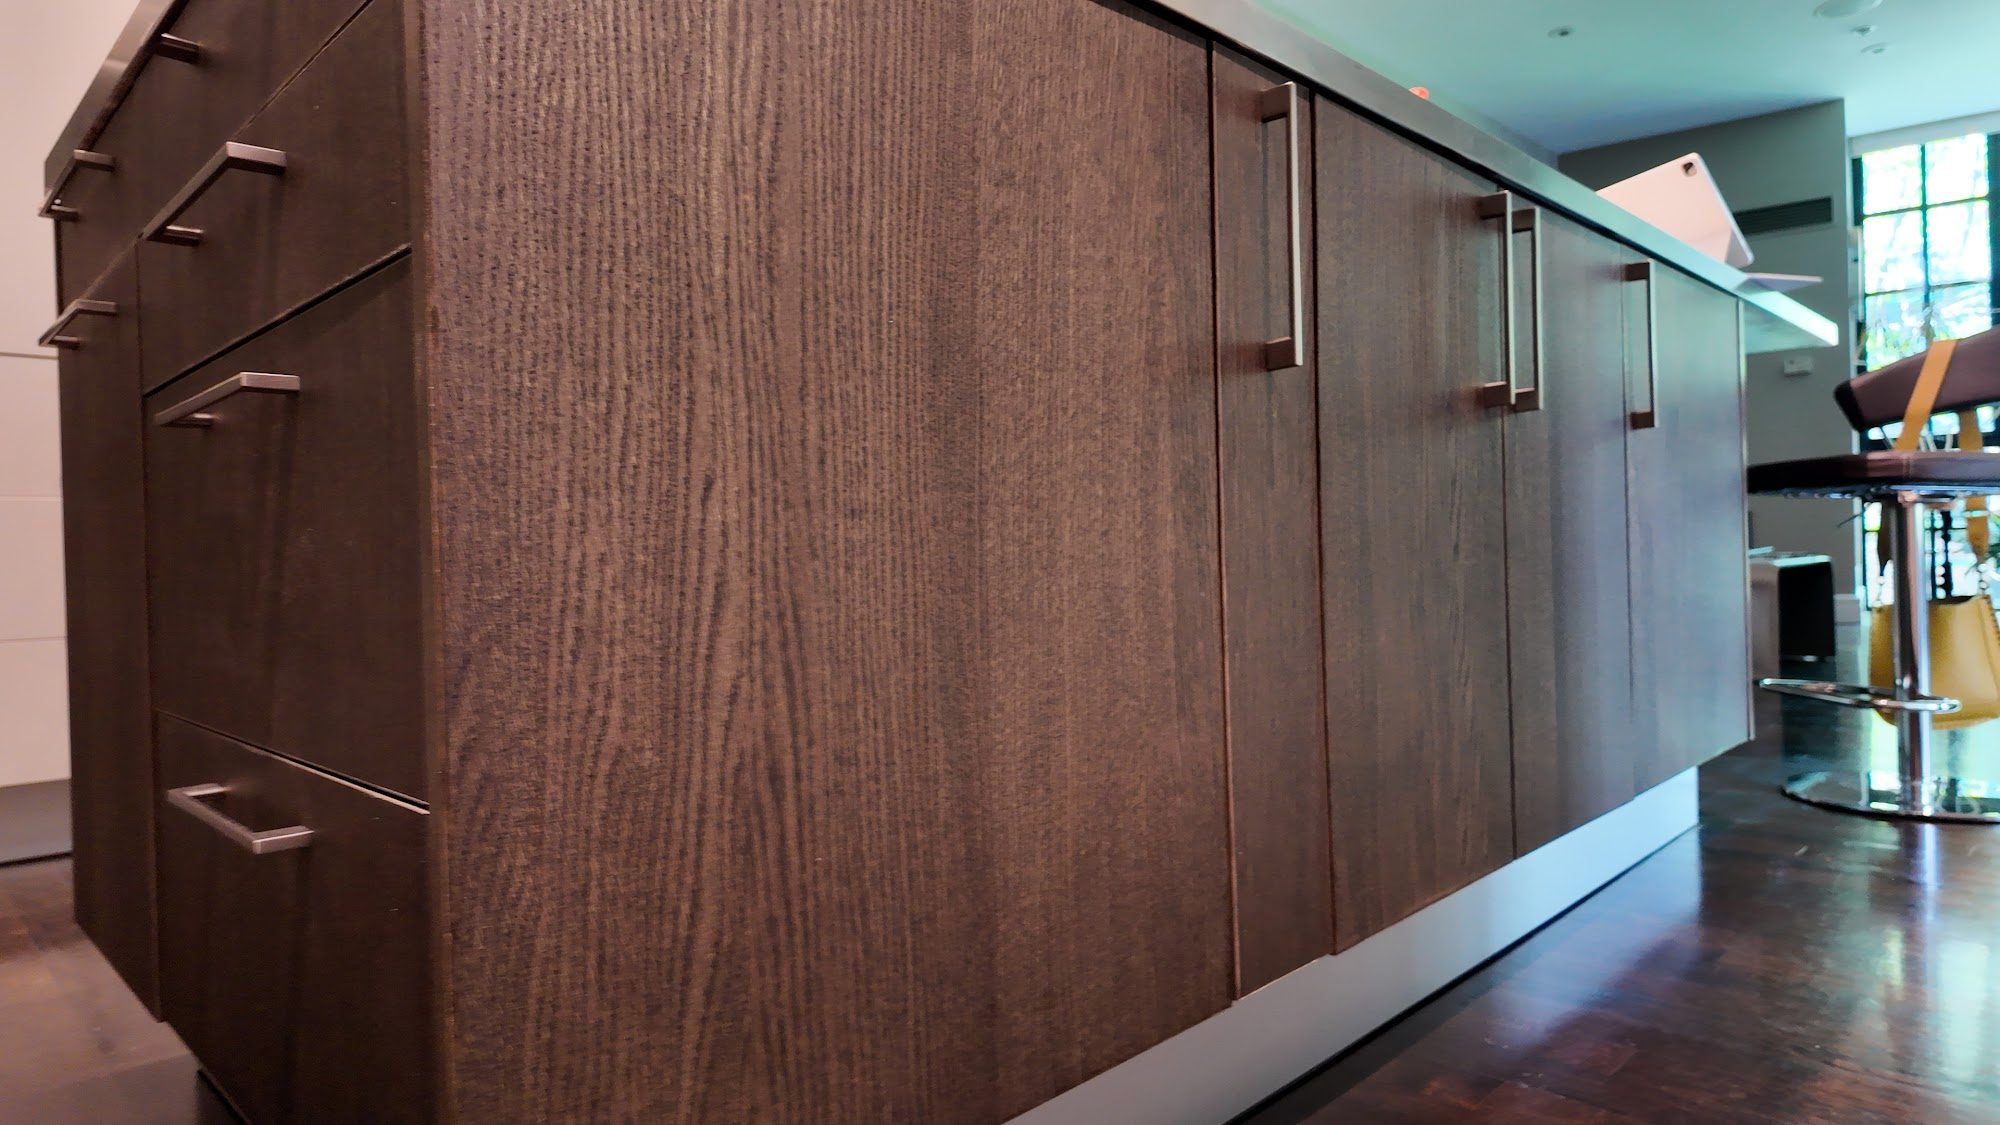
The waterfall edge, where the island countertop continues vertically down one or both sides to the floor, has become the standard specification for DC kitchen islands at the custom level. In listing photographs of McLean, Bethesda, and Georgetown kitchen renovations from 2022 to 2026, the waterfall edge appears in the majority of programs at this price point.
The waterfall works architecturally because it converts the island from a piece of furniture (a counter on a cabinet base) into a piece of architecture (a continuous surface that appears to grow from the floor). The island reads as substantial and permanent rather than as set down in the room.
When the waterfall is the correct specification:
- The island faces the living or dining area and is visible from the adjacent room
- The countertop material has visual movement (veining, crystalline texture) that benefits from a continuous run showing grain direction
- The kitchen has high ceilings that give the vertical drop room to read correctly
When the waterfall is not necessary:
- The island is in a kitchen that does not open to an adjacent room
- The countertop is a solid color (the vertical drop adds cost but no visual benefit)
- The seating overhang is on both sides of the island (one waterfall end and one overhang does not read cleanly)
The miter joint: A waterfall edge requires a mitered joint at the top corner where the horizontal countertop meets the vertical panel. For natural stone and sintered porcelain, the miter must be cut at precisely 45 degrees and the vein pattern must be book-matched at the joint so the pattern flows continuously from horizontal to vertical. This is demanding fabrication: not every stone yard executes it correctly. Pannello coordinates the miter fabrication with stone yards experienced specifically with waterfall joints.
Island countertop: different from the perimeter?
The island countertop does not need to match the perimeter. In the current DC market, a two-material countertop program, one specification for the perimeter and a different specification for the island, is one of the most common ways to add design interest to a kitchen without overwhelming the room.
The most common two-material pairing in current Pannello DC programs:
Dekton or sintered stone at the perimeter (adjacent to the range and sink), Calacatta quartz or natural stone on the island: The sintered stone handles the heat and water exposure at the cooking and cleaning zone; the more visually interesting material anchors the island, where it is seen from the living area and photographed most often.
White lacquer perimeter cabinetry with a quartz perimeter counter, contrasting island in oak veneer with a quartzite top: The warm material program on the island (wood cabinet, natural stone) reads as a piece of furniture within the kitchen and reinforces the island as the room’s social center.
Matching countertop material, contrasting cabinet finish: A white lacquer perimeter and a navy or charcoal island with the same Calacatta quartz throughout. The visual distinction comes from the cabinet color rather than the countertop, which reads as more unified.
Island storage: what goes where
The storage configuration of an island is designed at the same time as the cabinet program: not as an afterthought. The most functional island storage layouts:
All-drawer working side: The cooking-facing side of the island should be specified as full-height drawer banks wherever a sink or dishwasher is not occupying the space. An island with door-over-shelf storage on the cooking side requires kneeling to access the lower shelf; an island with drawers provides everything face-up and accessible at the front of the drawer.
Deep drawer for pots: One or two deep drawers (8 to 10 inches internal depth) on the cooking side of the island for pot and pan storage. Pots stored in a drawer (face-up, lids separate) are significantly more accessible than pots stored in a standard lower cabinet.
Seating side: closed doors or open shelving: The seating side of the island, visible from the dining or living area, is typically specified with cabinet doors (for concealed storage) or open shelving (for display). A combination (two open shelves at one end for cookbooks and display, closed cabinets at the center for appliance storage) is the most flexible specification.
Microwave drawer: A dedicated drawer-format microwave (Sharp, Bosch, or Wolf) built into the island base at a height of 24 to 30 inches is more functional and more visually correct than a microwave on the counter or above the range. The drawer format opens toward the user rather than to the side, which suits the island position.
Island lighting: pendant selection and placement
Pendant lights above the island are the kitchen’s primary decorative lighting element and the fixture that most clearly signals whether the kitchen was designed. The selection and placement require three decisions:
How many pendants: Two pendants for an island up to 72 inches long; three pendants for 72 to 108 inches; four pendants for a longer island. Spacing pendants evenly at 28 to 32 inches apart across the island length produces balanced coverage without crowding.
What height to hang them: The bottom of the pendant shade should sit 30 to 36 inches above the island countertop. Lower than 30 inches, the pendant interferes with sight lines across the island. Higher than 36 inches, the pendant loses its visual connection to the surface it is lighting.
What style: The pendant selection is the hardware decision of the lighting program: the fixture that receives the most attention. In current DC kitchen programs: aged brass or unlacquered brass shades for warm programs (white or oak cabinets), matte black for contemporary programs, and ceramic or opalescent glass for programs that want a softer, less metallic presence above the island.
Frequently asked questions
What is the minimum size for a kitchen island in a DC home?
The functional minimum is 36 by 60 inches: enough for a working surface and two counter stools. Below this size, the island provides neither adequate prep surface nor comfortable seating. The clearance on all working sides (where someone stands) must be at least 42 inches; 48 inches is preferred.
Should the island countertop match the perimeter countertop?
Not necessarily. A two-material program (sintered stone or durable quartz at the perimeter (near the range and sink), and a more visually distinctive material on the island) is increasingly common in DC kitchen programs and adds design interest without visual overload. A matched countertop throughout is simpler and reads as more unified.
How much overhang is needed for seating at a kitchen island?
12 inches is the minimum; 15 inches is comfortable for most adults; 18 inches is generous and suitable for households with children who use the island as a homework station. The seating overhang should be on the side facing the living or dining area: not the cooking side.
Does the island need a prep sink?
In a household with one cook, no: the perimeter sink handles all water needs. In a household with two regular cooks, a prep sink on the island eliminates the single most common kitchen traffic conflict: two people needing the sink simultaneously. For a McLean or Bethesda kitchen used heavily by two adults, the prep sink is worth the plumbing rough-in cost.
What is a waterfall edge and is it worth it?
A waterfall edge continues the countertop vertically down one or both ends of the island to the floor. It reads as architectural rather than furniture and is the current standard specification in DC custom kitchen programs at this price point. It is worth it when the island faces an adjacent living or dining room and the countertop material has visual movement that benefits from a continuous run. It adds $1,500 to $4,000 to the countertop cost depending on the material and the miter complexity.
Can Pannello design the island as part of a full kitchen program?
Yes. The island is designed as an integral part of the kitchen program: not as a separate component. The island dimensions, clearances, storage configuration, prep sink position, and countertop specification are all resolved during the elevation drawing phase, before any material is ordered. The island countertop template is taken at the same time as the perimeter countertop template after installation.
To discuss kitchen island design for a Washington DC renovation: schedule a design consultation at our Georgetown showroom at 2201 Wisconsin Ave NW.
Related reading: Custom kitchen cabinets in Washington DC, 2026 guide · Countertops in Washington DC, 2026 guide · Kitchen renovation in Bethesda, 2026 guide · Cabinet hardware in Washington DC, 2026 guide.